

Committed to eating locally but also to eating green veggies daily? Not sure which value to prioritize from November to May? Not wanting to spend so much of your grocery budget on imported, tired greens? Sprouting is a beautiful way around these dilemmas, and is so satisfying. Kids will love to participate in this sort of project, too. Watching their sandwich topping grow before their eyes is a great way to engage kids in learning where food comes from, and how plants grow from seeds.
Nutrient Facts
As a seed sprouts, it releases all the nutrients a seed needs to grow into a mature plant (eg broccoli, or alfalfa, or red clover). Enzymes produced by the sprouting seed make these nutrients super available, and thus super digestible for us. Nutrients include vitamins and minerals, along with highly specific nutraceutical compounds. For little ones who might not let a huge variety of veggies into their bodies in a day, and for grown-ups looking for a concentrated nutrient boost, sprouts make sense!
Broccoli sprouts are a rich source of important compounds such as indole-3-carbinol and sulforaphane, with proven health benefits including assisting hormone balance, detoxifying, and preventing joint degeneration and pain. Because the enzymes in sprouts enhance their digestibility, and because nutrients are concentrated in sprouts, broccoli sprouts are a better source of theses nutrients than full grown broccoli!
Red clover sprouts are the best source of isoflavones, plant compounds that compete with our body’s own estrogen and thus can help protect us from hormone-dependent conditions like breast cancer, and help ease the transition to menopause by moderating hormones and protecting our bones.
What You Need
 A jar or two, 1 L to 4 L size, depending on your appetite for sprouts and size of your family.
- A teeny bit of counter space, with a teeny bit of wall-resting space and a dish cloth to rest the jar on. The cloth keeps the jar stable and absorbs any water that drips down.
- Some screen or netting either nylon tulle from a fabric shop or gray fiberglass screen from a hardware store, will work fine. Plus a rubber band, or the outside part of the canning jar lid, to hold the mesh in place.
- Fresh water.
- Seeds or legumes for sprouting, preferably grown organically. Avoid purchased garden seeds unless you know they aren’t treated. Most natural food stores sell sprouting seeds. Some favorites: alfalfa, red clover, radish, fenugreek, broccoli, mustard.
Easy Sprouting Directions (for most small seeds)
- Add 1 to 4 TBSP seeds to a wide mouth jar. Cover with mesh and secure with rubber band/outer lid. Add water, swirl, and drain. Add cool water to cover completely and soak for 4 – 8 hrs.
- Drain off water and prop your jar upside down at an angle on the counter/in bowl/in the dish drainer (not in a cupboard because you want the sprouts to produce chlorophyll, which is encouraged by natural light).
- Rinse seeds twice a day with cool water, swirl, and drain.
- Harvest: In three to six days, when sprouts are 3 to 5cm (1 to 2″) long, enjoy. Cover the jar with plastic and a rubber band, or transfer to a covered container, and refrigerate to store.
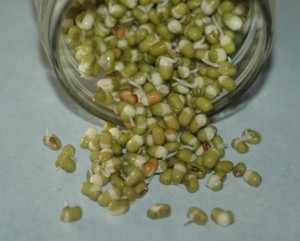
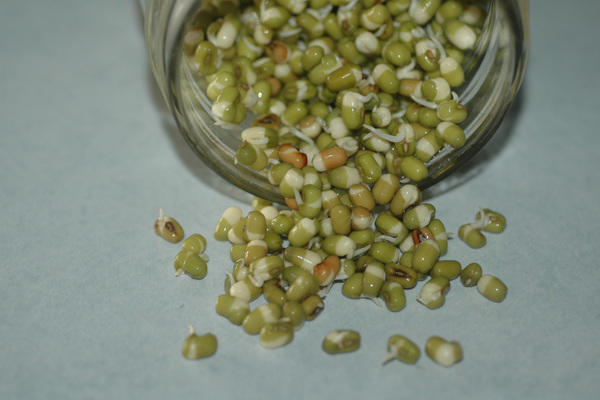
- Variation for large seeds (eg lentils, mung beans): use 1/4- 1/2 a cup in a mason jar, soak 8 hours, proceed as above. These sprouts are good when they are a little shorter than alfalfa sprouts, say, so harvest closer to 3 days than 6.
With how-to notes from http://www.cityfarmer.org/sprout86.html, copyright Jim Mumm, 2000.